
Documentation
This page contains documentation summarizing how to setup and run M-USE.
For the full Experimenter Manual, visit our M-USE_Documentation Repository.
Running a M-USE Build
Note: We use the Effort Control task as an example throughout this page.
Downloading M-USE
First, download the latest version of M-USE at Downloads. Unzip the folder and place it on your desktop.
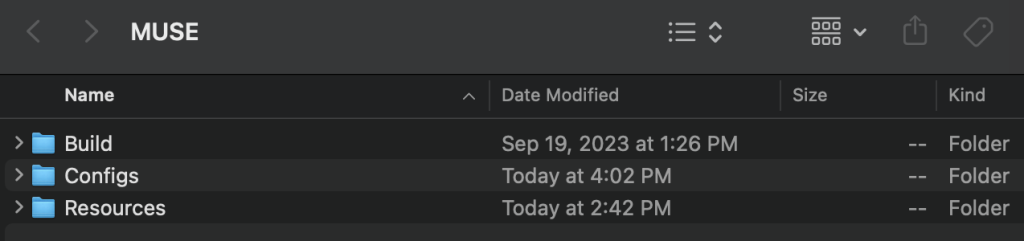
M-USE experimental sessions are defined by a Config folder, a Resources folder, and a Build folder:
- The Build folder contains the MUSE.exe file, which is the build you will run after updating your config files.
- The Resources folder includes Texture Images, Task Icons and Stimuli.
- The Configs folder includes all configuration files for the session.
Before running the MUSE.exe build, you need to setup your configuration files.
Setup Configuration Files
For our full documentation on setting up configuration files, see our Developer Manual at M-USE_Documentation Repository.
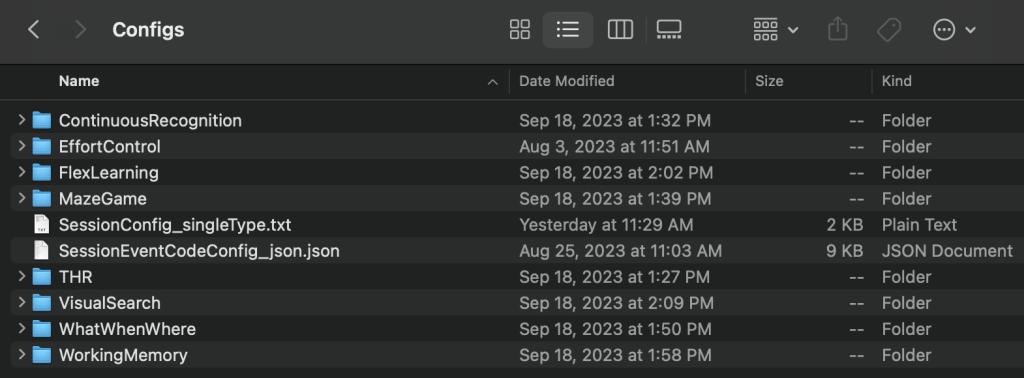
The Configs folder contains the Session Config file, Event Code Config file, and the individual Task’s Config folders.
Updating the Session Config file
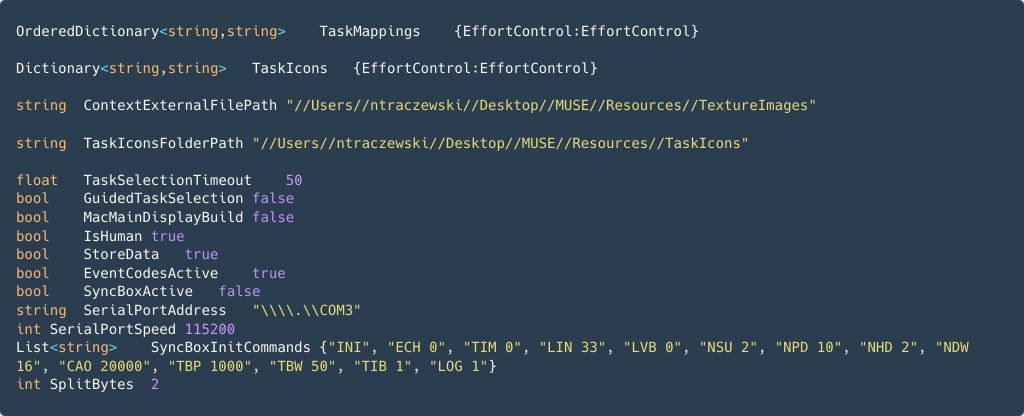
Update the Session Configuration file (shown below), which contains session level variables necessary for your experiment:
- Edit the ContextExternalFilePath and TaskiconsFolderPath strings to the location on your machine.
- Edit the TaskMapping and TaskIcons dictionaries to include the tasks you wish to run.
- Edit any applicable booleans, including whether the subject is a human, and whether to use the SyncBox and Event Codes.
Updating the Task’s Config Files
Update the individual task configuration files for the tasks you wish to run (and thus included in the TaskMappings variable of the SessionConfig).
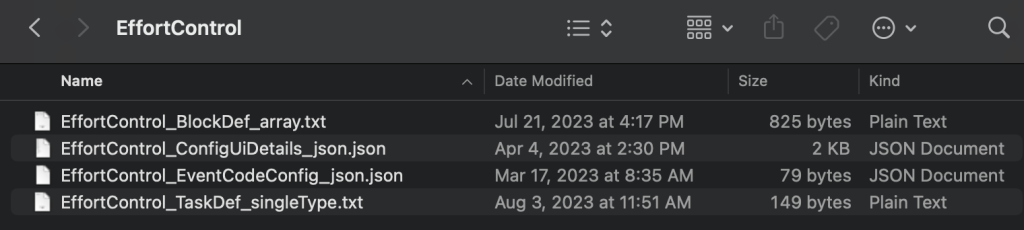
An individual task’s configuration folder contains configuration files for that task, such as a Task config, a Trial config, a Block config, a Stimuli config, an EventCode config, and a UI config.
The TaskDef Configuration file (shown below) includes Task specific variables such as the FeedbackControllers, Context Image name, and the start button position and scaling.

Note: Most tasks (excluding EffortControl) have file paths in their TaskDef configuration file that you will need to update to match the locations on your machine.
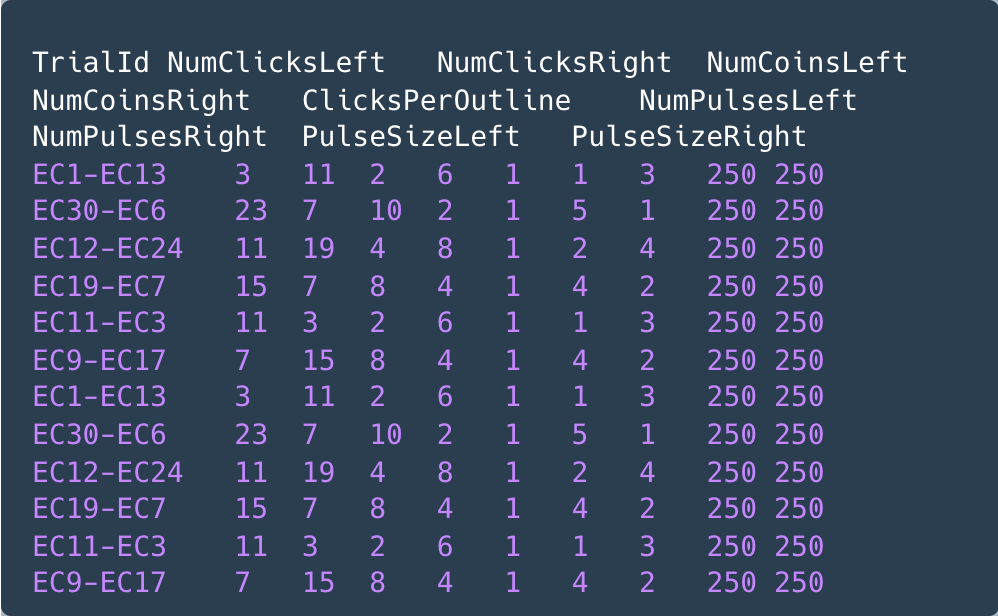
The Block Configuration file includes block specific variables including the number of clicks, coins, and reward pulses. Here, you have the ability to edit the block variables’ values prior to running the session.
Once you’ve updated the Session Config and the individual Task configs, you’re ready to run the build!
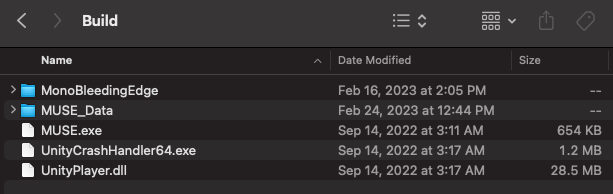
Starting the Executable
Now that our configuration files are setup, let’s run the build. Open the “Build” folder and double click the “MUSE.exe” file shown below. The build will begin loading.
Initialization Screen
Once the build loads, the following screen will appear. Press Play.

Next is the Initialization Screen where you will fill out important information for your session, including: SubjectID, the Subject’s Age, your config type and your data storage location.
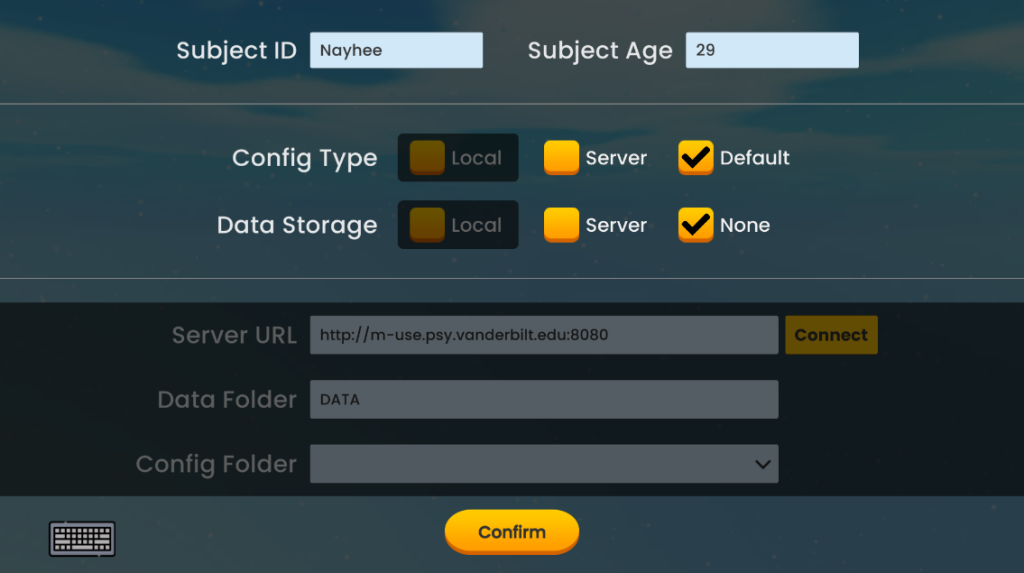
If you’re using local configs, click the Config Folder field’s “Browse” button and select the config folder you wish to use for the session. If you’re using local data storage, click the Data Folder field’s “Browse” button and select the folder you wish to write the data to during the session.
If you’re using server configs or writing data to a server, you will need to input the Server URL and click the “Connect” button. If the connection is successful (and you’re selected config type is server), the Config Folder field dropdown will automatically be populated with the Config folders on your server, for you to select from. If you’re storing data on the server, fill out the “Data Folder” field with the name of the Data folder on your server.
The information you input will remain from session to session.
Once you’ve input all necessary information, click the confirm button.
Task Selection Screen
The Task Selection screen contains task icon buttons for each task, allowing you to select a task to play by clicking its’ corresponding icon.

Click the icon of the task you wish to run.
Once you’ve selected a task, it will load and the first trial will begin. The figure below depicts the InitTrial State of the EffortControl task, which waits for the subject to press the start button.

Click the start button to begin the first trial! (see EffortControl for the full task)
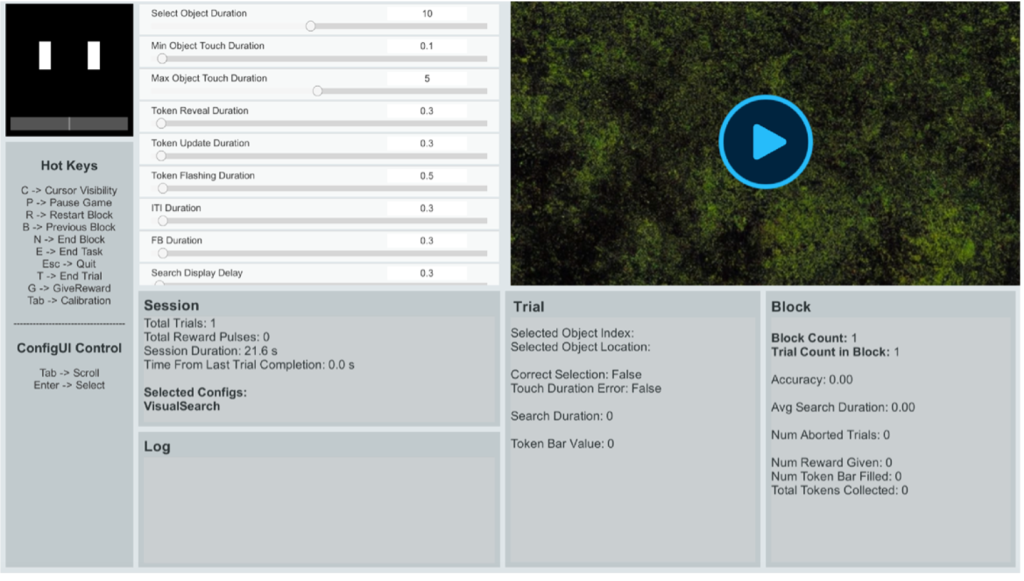
Experimenter Display
In addition to the main display utilized by the Subject, we’ve created an Experimenter Display that provides key insight into the session, including a summary of live trial and block data, debug logs, and the ability to change trial variable values.
USE-SyncBox
The USE SyncBox is a device that lets a host computer, and several instruments talk to each other. It issues timing pulses at regular intervals; issues reward pulses as one-off events; writes parallel event code data to the ephys I/O port; and reports analog input from the joystick and light sensors at regular intervals.
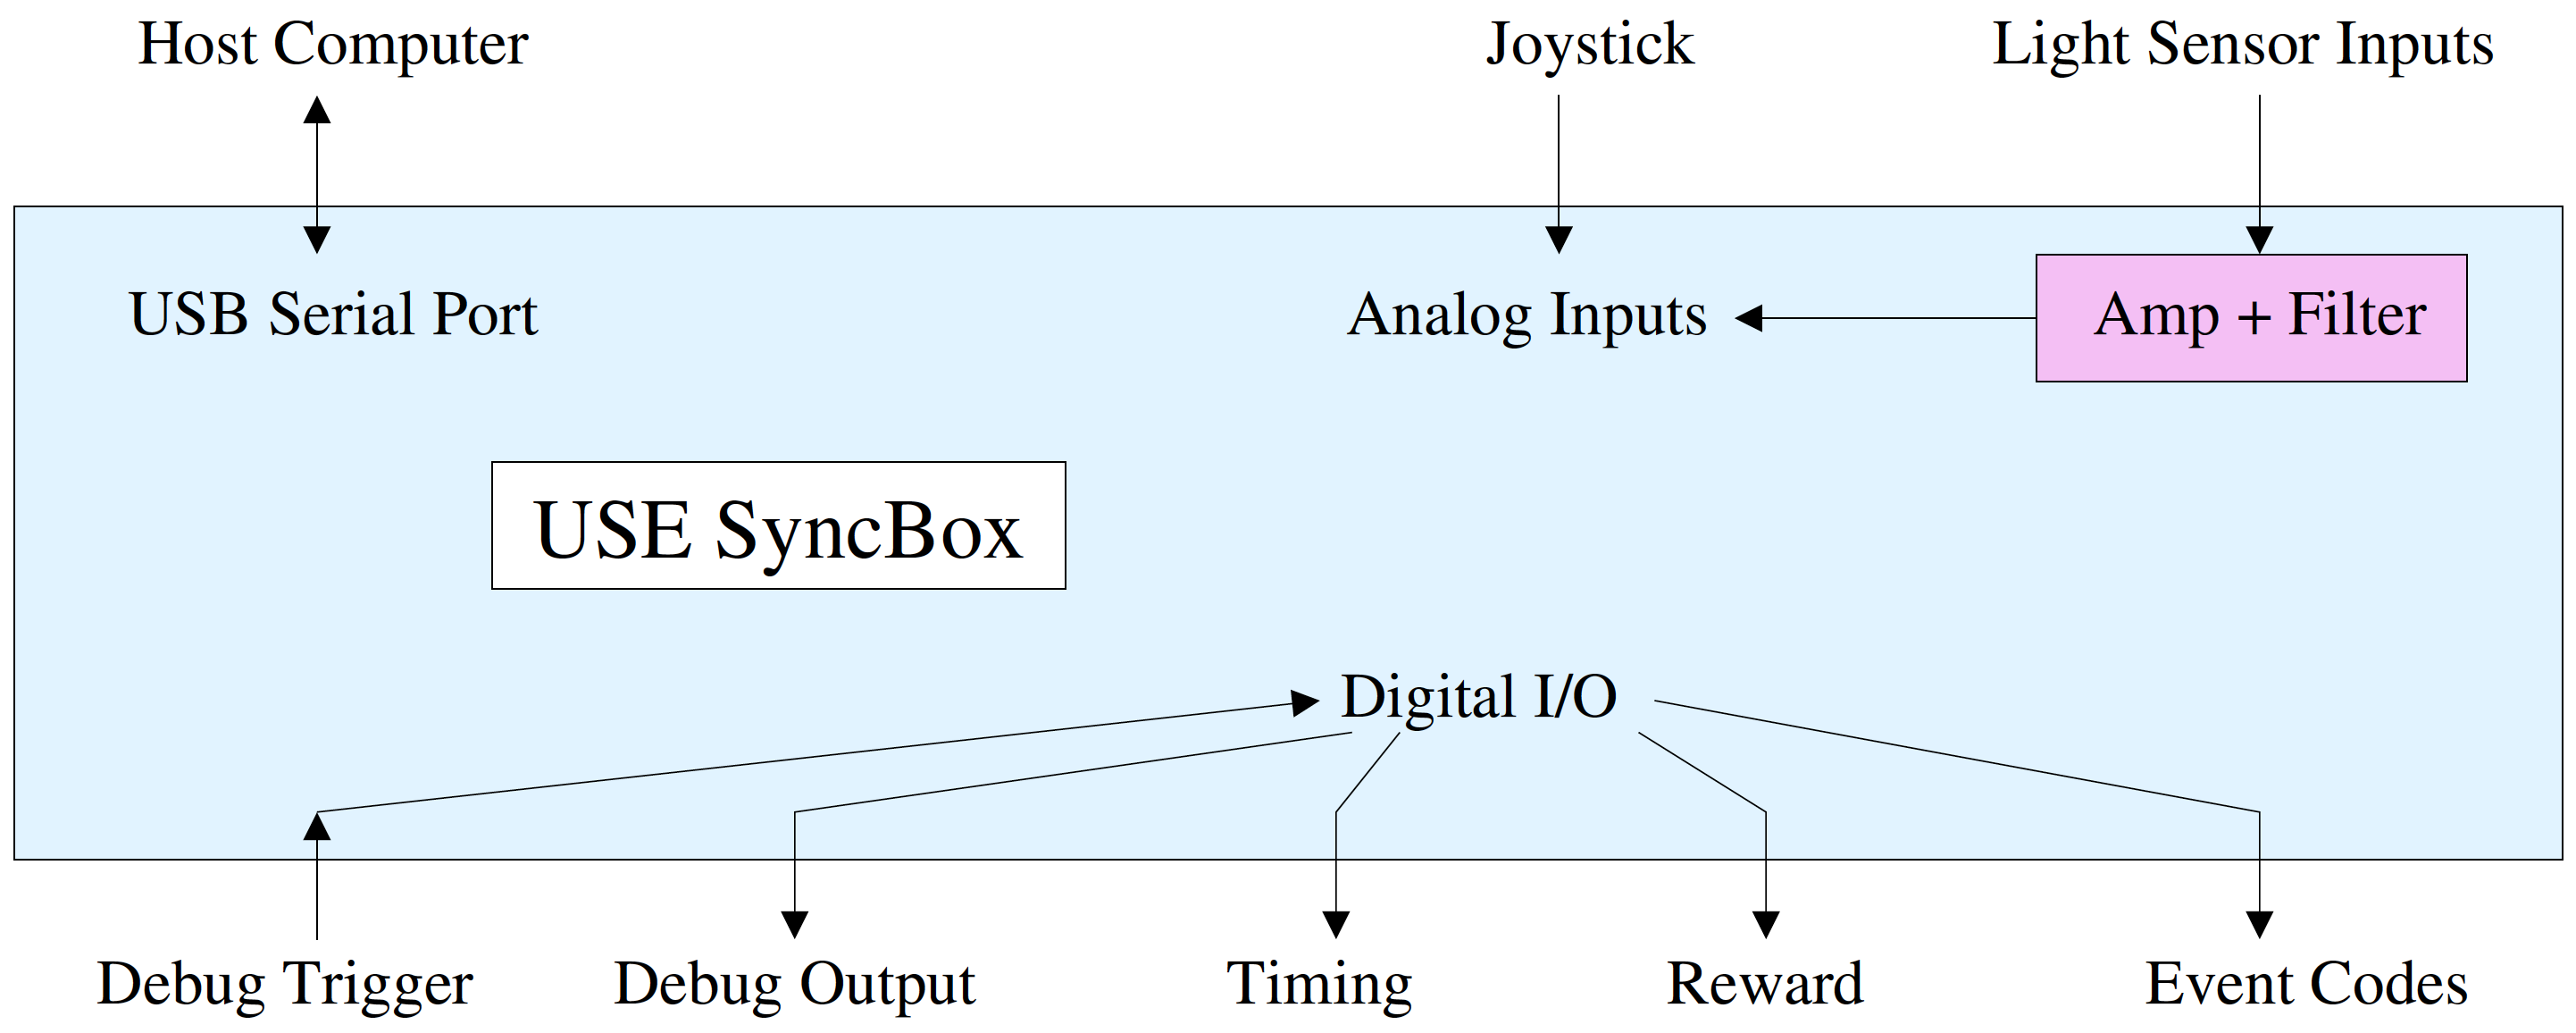
See SyncBox-Github and Kiosk-Paper for a complete summary of the USE-SyncBox.
Data Output
If during the Initialization Screen you choose to store data (locally or on a server), data files will be automatically created and written to during the experiment. After running a session, a session data folder will be created in the path designated during the Initialization Screen. The folder will contain Session Data, Summary Data, SessionSettings, Serial Data, a Log file, and a task folder with individual Frame, Trial, and Block Data for each task played during the session.
Here’s a Data folder from a session where the EffortControl task was ran.

For a full description of the data files, see our Developer Manual at M-USE_Documentation Repository.
Importing Data into Matlab
The MATLAB processing script accepts the full Session Data folder and converts the Frame, Trial, and Block data types into individual tables to be imported for further analysis. The final processed data folder appears within the original Session Data folder.
The Frame Data file provides fine-tuned depictions of frequently changing variables. Given a frame rate of 60 Hz, the graphics processing unit is rendering 60 frames per second, providing a detailed snapshot of experimental conditions on each frame of the monitor throughout the session. The Trial Data file provides broader information on the trial, involving variables that are only updated once throughout the trial. The Block Data file compiles the information across several trials, detailing variables that are only updated once throughout the block.